We recently built a home basketball court from scratch and documented our journey from researching the correct products to laying a slab and finalising the court. Check out our personal step-by-step guide on how we researched, sourced and built our very own outdoor basketball court (it’s not that hard, trust me).
Step 1: Research and Material Sourcing
- We googled local basketball installers and researched the top 10-12 companies locally and nationally who provided or installed outdoor basketball courts.
- This included checking reviews, checking out their social profiles and viewing their website galleries for the style that we were after.
- We quickly noticed a theme of top companies using modern modular polypropylene tiles, and dug further into their benefits.
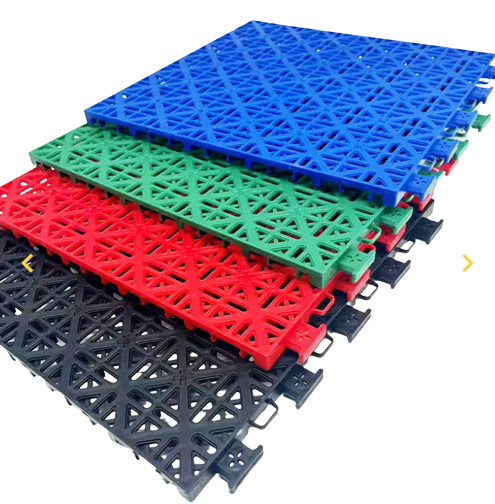
- There seemed to be two clear types of court tiles available, both claiming to be the best. Therefore we visited one of the local installers’ warehouses to see if we could view their tiles in person. We decided that the apparently ‘newer’ tiles which had a more anti-slip design and also rubber cushions on the tile base looked to be the more professional tile and we were told ‘are quickly growing in popularity, so we looked into sourcing these online.
Step 2: Ordering and Importing the Tiles
- This can be one of the more time consuming parts of the process, because if you want to make any decent savings on buying tiles (importing for approx AUD $30 a square metre Vs buying locally for AUD $100 + a square metre) then you need to communicate with manufacturers in China.
- To start with, we created an account with Alibaba and set up what is called an RFQ (request for quote). This send out your request to hundreds of manfacturers on your behalf. The time consuming part is then analysing and sifting through the many many responses and potential quotes on offer.
- After much back and forth, we agreed to purchase from a manufacturer based on three key points that were important to us. These are: 1) They were prompt with their communication and happy to answer our questions 2) They could prove to us they had supplied tiles to similar buyers in our region (Australia). 3) Their price was fair but more importantly, they had good reviews (these can bew viewed via the Alibaba platform) and they were happy to provide us guidance on the delivery process.
- We decided to order 200 square metres which included tiles for our own court as well as some additional tiles for families and friends who indicated that they wanted to buy and install the tiles as well. 200 square metres is considered a very small order for these manufactutrers, a lot of them were pushing us to order at least 500 sqaure metres.
- We made sure to order lines pre-painted (which only cost an additional US$1 per square metre), however we also ordered and paid for a paint line marking machine just in case.
Step 3: Site Preparation
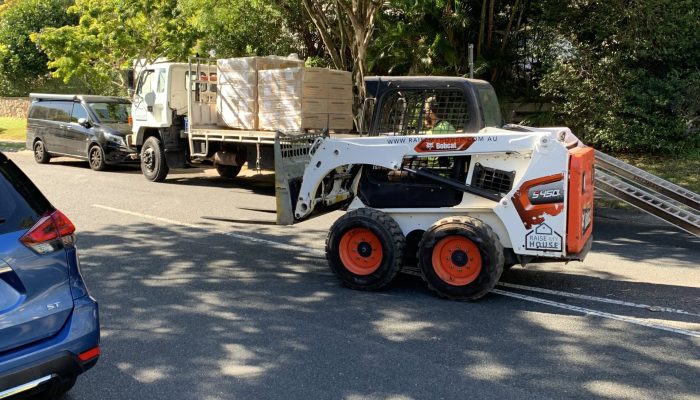
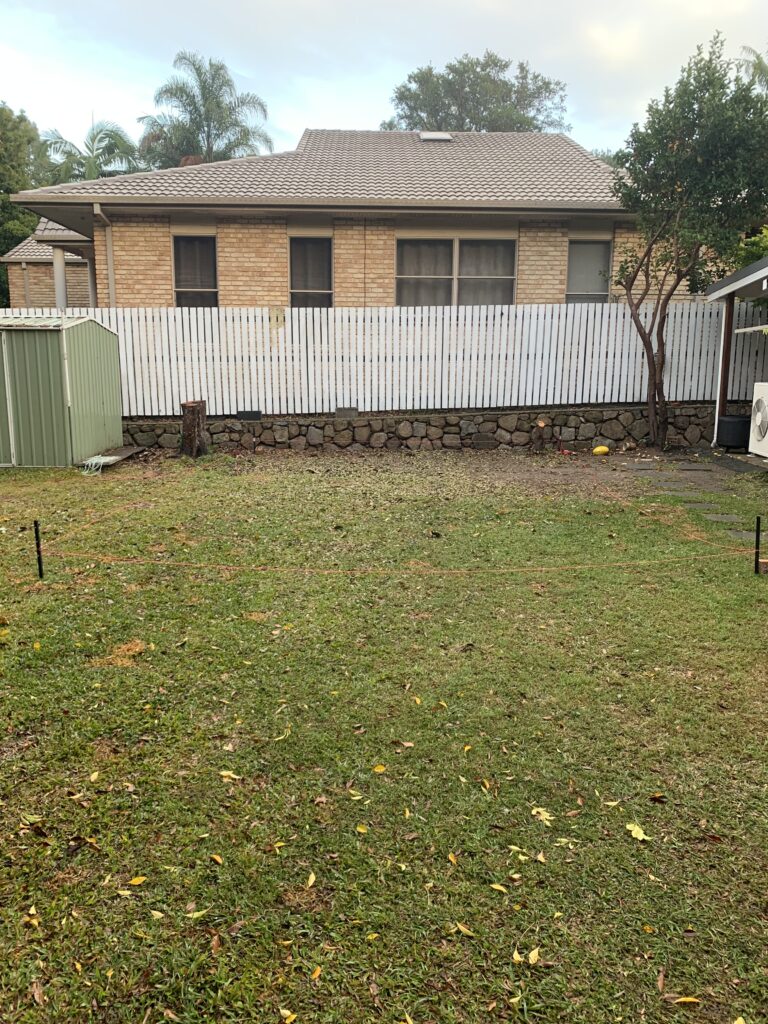
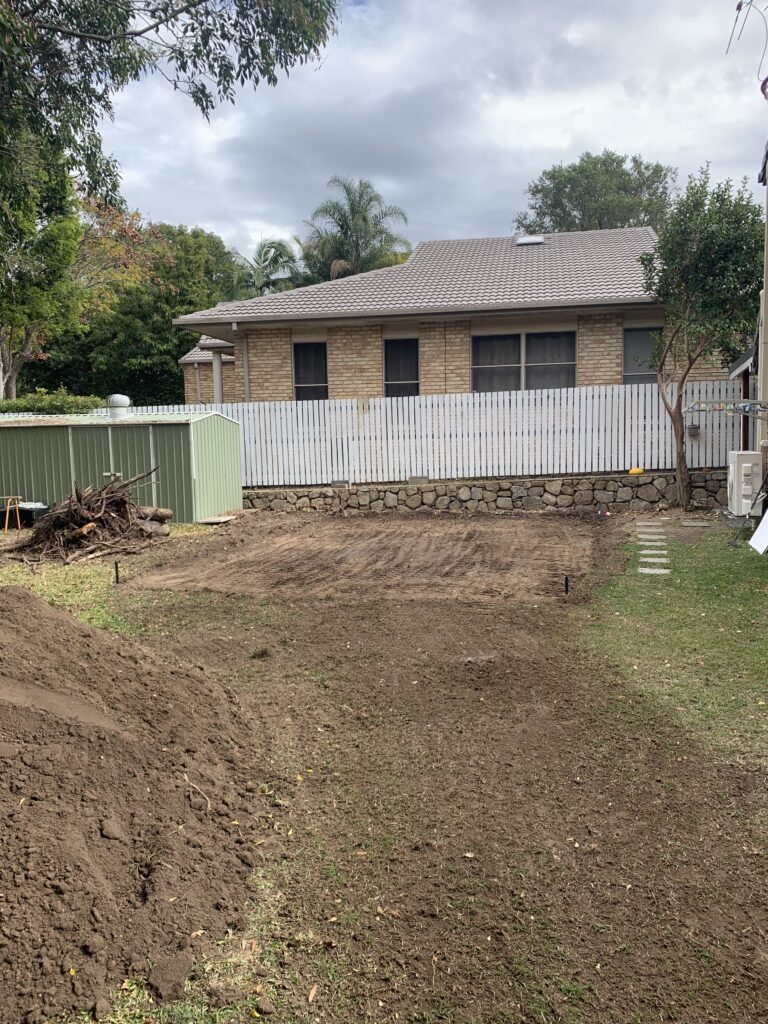
- To start off our site prep, we ordered a digger with an operator to clear four trees from our back fence and dig out the roots, so they would not interfere with the slab. The benefits of using the digger was the operator could level and grade the area for us, dig down the precise level needed into the soil (in this case we wanted a 100mm depth), and also clear and remove the excess soil and stumps. We got charged for 2 hours work however this saved us a lot of time in trying to dig out, clear and level the area ourselves.
Step 4: Laying the Foundation
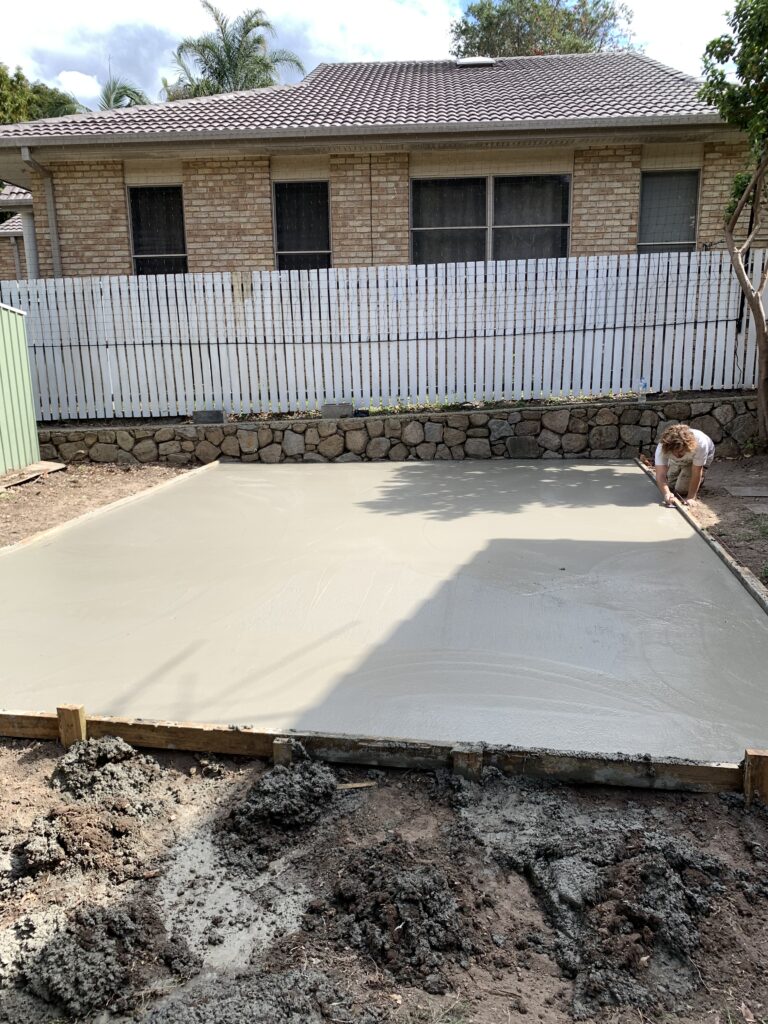
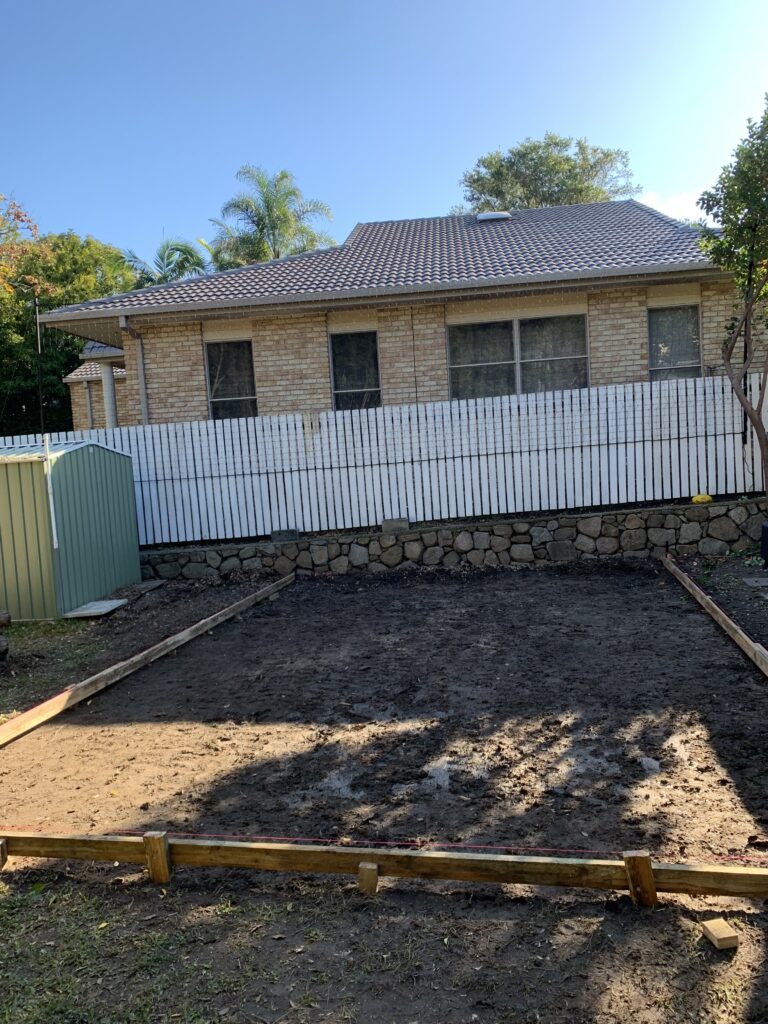
- We sourced some local tradespeople to both box up the area for us (in this case a 7×5 metre court) and double check the levels before we poured the concrete. They also submitted our concrete order to a local provider.
- On the day of the concrete arrival, it took approx 3 of us about 30 mins to wheelbarrow the concrete and tip it into the boxed up slab area. The tradesman then screed the slab level to make sure that everything was even and looking good before the conrete set.
Step 5: Receiving and Storing the Tiles
- Through the importation process with the Chinese manufacturer, we also hired a local logistics company in Brisbane to help us sort and pay for the duties and customs charges at the Queensland ports. This is a technical process, and without their expertise we would not of known which documents to request from the manufacturer to ensure a smooth import process. They also keep us up to date with any delays with the shipping and basically coordinate full delivery of the tiles into Australia on our behalf. This same company assisted us with freighting the boxes of tiles to our home address.
Step 6: Installation of the Court
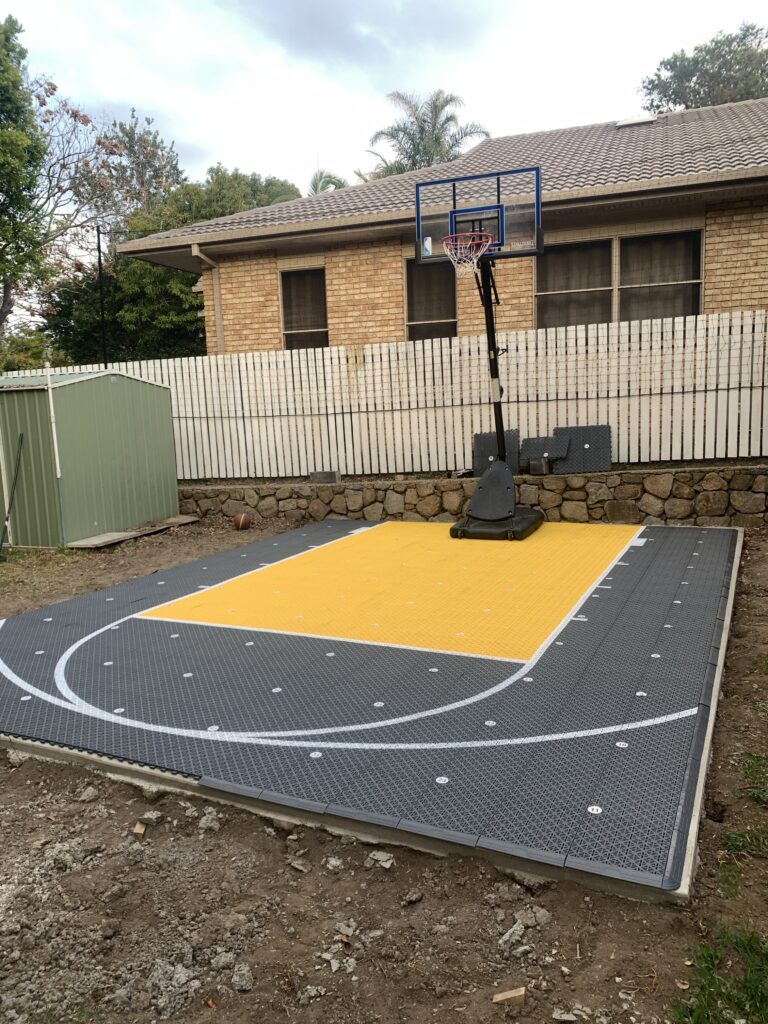
- This is the fun part. Each box came numbered and with our name on it and in sequential order. This part really is as simple as viewing a diagram that the manufacturer gave us to see which part of the court you start box 1 with, and laying each set ouf tiles out in order. You can see the numbers on each set of tiles on the pic below.
- From there, we laid the tiles in order, clipped them in, and added the edging to the outer area to help finish them off. It only took me about 20 minutes to lay and cover 35 square metres. The tiles clip like a jigsaw and can be moved quite easily. The hardest part was getting rid of and recycling the leftover cardboard boxes.
Step 7: Final Touches Before Home Hooping
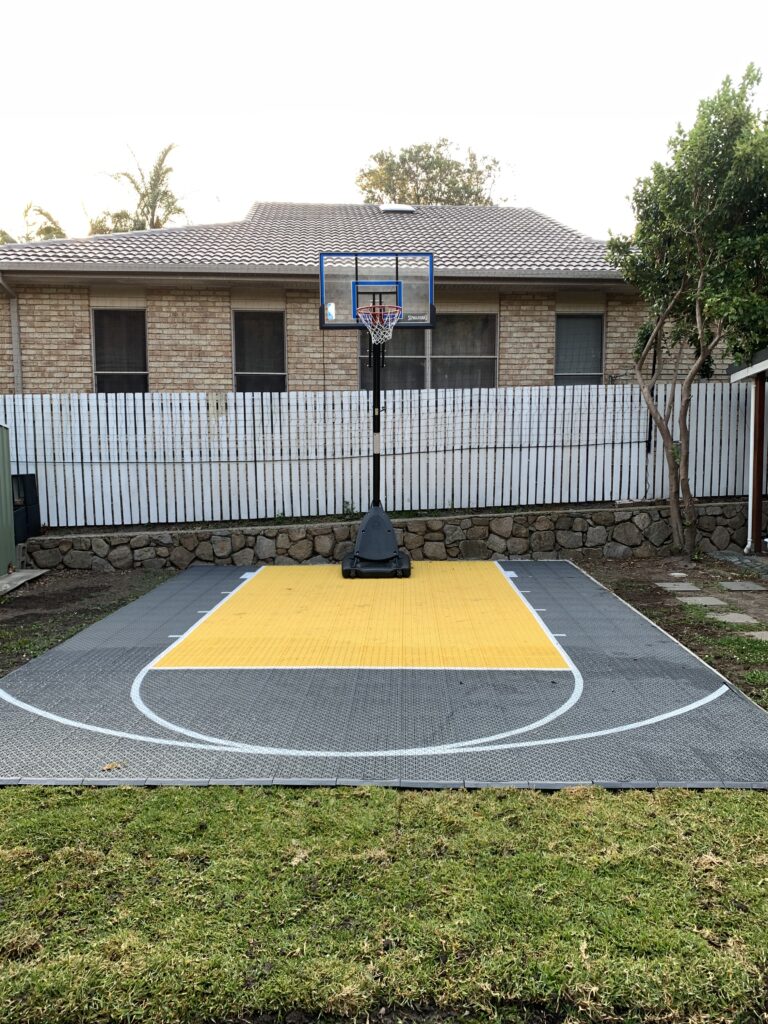
- Once all the tiles were laid and everything was looking good, we wheeled our above ground court into the right area, pumped up the basketballs and got straight into some home court hoops. The whole process was relatively straight forward, as long as you engage the right people to assist you. I will explain the cost breakdowns in a seperate post, however I saved jus over 55% by researching and doing this myself. The people to engage to help make this a success are:
- A digger operator
- Chinese manufacturer
- Logitics / freight company
- Local tradesperson to create the slab
Once you have those specialists in place, you arw well on your way to being able to build your own home court and save thousands.
